


How do I love thee? Let me count the ways...

Well, I just do. I do love her!
This hutch was the second piece of furniture I bought with the intention of painting and reselling. It was $75.00. Six months ago. Since then I have been unable to bring myself to paint her. She just sat in my garage patiently waiting her turn. Tucked away, behind several other pieces and broken bikes. A LOT of broken bikes.


Besides, the hutch I had was fine. I had just redone it when I built The Manners Table, for crying out loud! But, this one? We had a connection! So, I did nothing. For six months. Until, on my birthday, like a sign from Heaven (que the angels), these chairs popped up on Craigslist. Here was the bridge between my table and the new hutch! They had a sweet little carved basket design, just like my hutch!! Happy Birthday to meeee!


Once I finished up some custom work, it was finally my turn. And wouldn't you know it? I couldn't make up my mind what I wanted to do with it. I knew I wanted two colors and something different on the back. I bought some wallpaper thinking that I could pull colors from that. Not so much. Finally, I settled on Chalk Paint in Old White and Coco. Coco seemed just frenchy enough, and I love, love and want to marry Old White.


The first thing I did was pop the back off of the hutch part. Did you know you could do that? Just tap it out with a rubber mallet. It makes painting the inside so much easier, plus, I knew I was doing something to the back, I just didn't know what that was yet.

I decided on Old White for the body and Coco for the moving parts and the top trim. Once it was painted, I did some pretty heavy sanding and distressing. I have always been a fan of seriously distressed. We buy scratch and dent furniture. Things in my house end up distressed one way or another. I would rather do that intentionally and not freak out when someone bumps into it with a skateboard or lands on it while going for a "record breaking catch". We definitely "live" in our house.
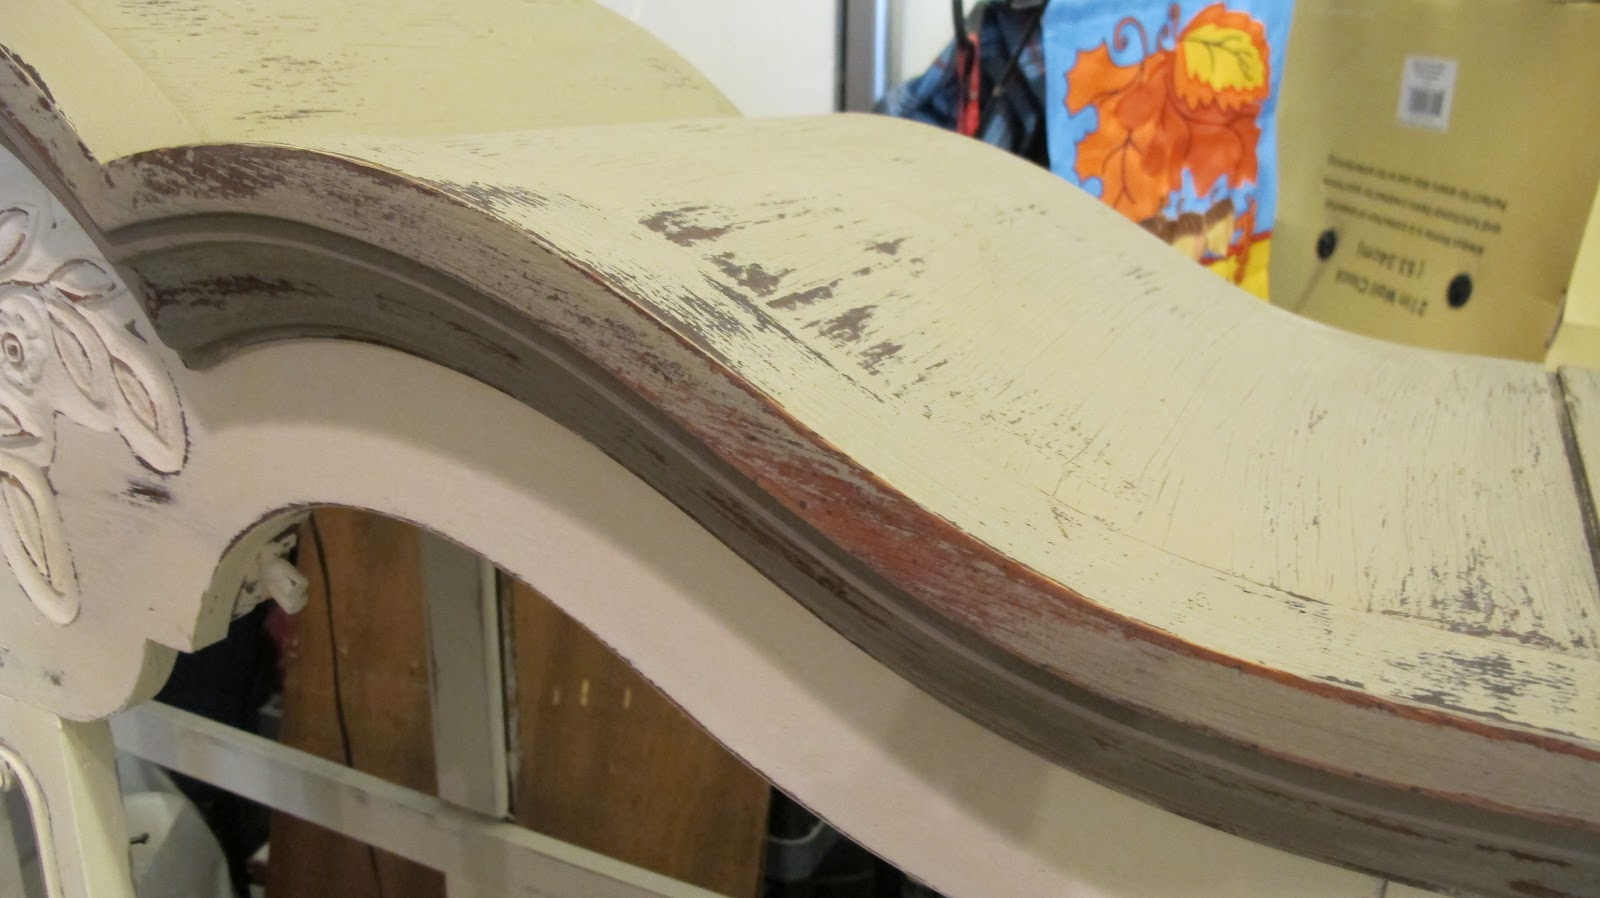

After the painting, distressing and waxing was done, I was still a little stuck for what to do on the back. All of the wallpaper I had was too fussy. I thought about stenciling it. Nah, still not right. I tried a few fabrics from my stash when I remembered this one. I am not even sure what I bought it for in the first place, but I was feeling the love! I took it outside and sprayed the back with adhesive spray and smoothed it into place. Easy Peasy! I didn't remove the staples when I pulled the back off so I just lined them up with their original holes and tapped them back into place. Done and done.


I have decided that my style is "Grungy French". A little girly with plenty of boy mixed in.


The rest of the room is definitely in progress, but not close to done. I'd show you, but what a mess!
I will be partying here this week;
Savvy Southern Style Wow Us Wednesday
Three Boys Chalk Paint Party
Primitive and Proper
Miss Mustard Seed Furniture Feature Friday
Alchemy Fine Living ~ From Trash to Treasure
Friday Redoux
Kammy's Korner Trash 2 Treasure Tuesdays
Savvy Southern Style Pin It


 Welcome to The Shabbiest Chick! My name is Chrystal and I am the happily married wife of one, and mother of four ~ all boys! I live in The House of Testosterone. I am passionate about my family, my home and coffee. I love to restore and recreate, taking the old and giving it a new life as a future heirloom. Come along with me, but grab a paint brush, we've got work to do!

 Posts
Posts


